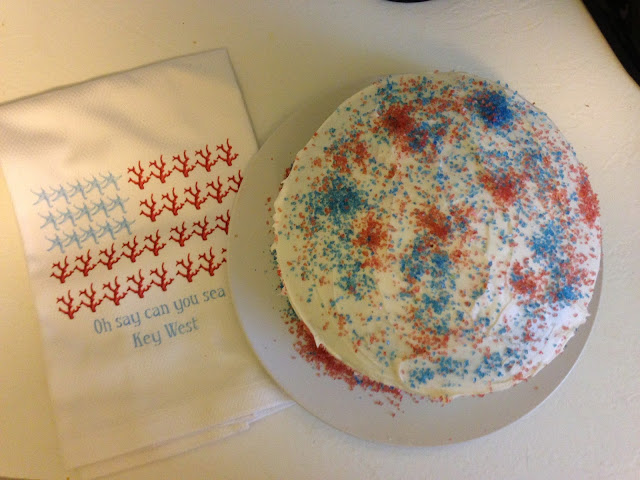
Happy 4th. This is definitely one of my all-time favorite holidays. I love that its summer time & sunny & everywhere you look you see red, white & blue. Of course, the fireworks are a nice added touch to finish off your day.
So, I was pondering a festive outfit to post & instead decided to show a fun cake recipe. This is definitely one awesome desert to wow everyone at your 4th of July party.
I first saw this recipe on Pinterest from the baking blog Glorious Treats who got her idea from 17 & Baking. Everyone, including myself, tweaked the recipe a bit making it more their style. For a baker, yes, this is simple. But for your average joe, it's a little difficult, as well as somewhat time consuming. I'm pretty crafty & creative, but I'd still rate this recipe of a difficulty of at least a five. I decided to post this here with some directions that may make your baking a bit simpler.
First, you will need the following:
*2 8inch round cake pans
*2 cake boxed cake mixes
*Red & blue food coloring
*Large knife
*Aluminum Foil
*2 cans white or vanilla frosting
*Red & blue sprinkles & any other decor
Now, follow these steps:
1.) Make one of the boxed cake mixes & dye the mix red. Using your normal grocery store food coloring, I used the entire bottle of the red dye to achieve a very vibrant red. However, add the drops in as your mixing to achieve the shade of red you prefer.
2.) Pour the mix into the two 8" pans splitting it evenly between them. The pans should each be about half full of batter. Don't forget to use a non-stick spray so that you won't have difficulty removing the cakes later!
3.) Bake both red cakes. They should look like the following photo when finished baking.
4.) Once the cakes are removed from the oven, place them onto plates to cool. I gently flipped mine upside down onto the plates. You will not see the top or the bottom of the cakes in the finished product. Just be careful as to not break the cakes. Clean out your pans to prepare for the next round.
5.) Prepare the second cake mix. Once thoroughly mixed, pour half of the batter into one of the pans filing the pan halfway. This will be your white cake.
6.) With the remaining half of the mix still in the mixing bowl stir in the blue food coloring. I wanted to achieve a light bright blue, so I only had to add about 1/4 of the blue dye. Once finished, pour this batter into the second pan. Again, it should be about half full.
7.) Bake the white & blue cakes. Once finished, remove from the oven & pans using the same step as the red cakes.
8.) Take all 4 cakes, wrap them in aluminum foil & freeze them overnight or at least 4-5 hours. From previous knowledge of cutting cakes, I've learned that you must freeze them before cutting them so that they won't break. Most normal cakes, boxed or homemade, will crumble or fall apart when cut straight across. And that's plain annoying. Do this step to avoid frustration!
9.) Once the cakes have been frozen, remove them from the foil & it is now time to cut them.
10.) Cut both red cakes completely in half. When cutting, use a large knife & slice very gently horizontally across as the cake is lying flat. Place one of the pieces aside. (Snack on that piece all you want because you will not be using this.)
11.) Cut the white cake in half the same way as the red cakes.
12.) Now, using a round jar or container that is 4 inches across, cut out a 4 inch circle of one of the red cakes & one of the white cakes. Discard the excess of both the red & white cakes that you cut the circles from.
The photo below shows you what should be left so that you may begin your layering of the cake.
*This next step will use almost an entire can of frosting, that's why I suggested to purchase 2!
14.) Begin with a red cake, frost the top very lightly & then stack the white cake on top.
Now, stack the blue cake on top of the red cake. Then frost the center of the hole in the blue cake & place the 4" white cake inside.
Now frost the top of the small white cake & place the 4" red cake inside of the blue cake.
15.) Lastly, frost the outside of the entire cake with white frosting. Once frosted, decorate as you please, cut open to find the grand finale, serve & enjoy! Happy 4th of July!


No comments